
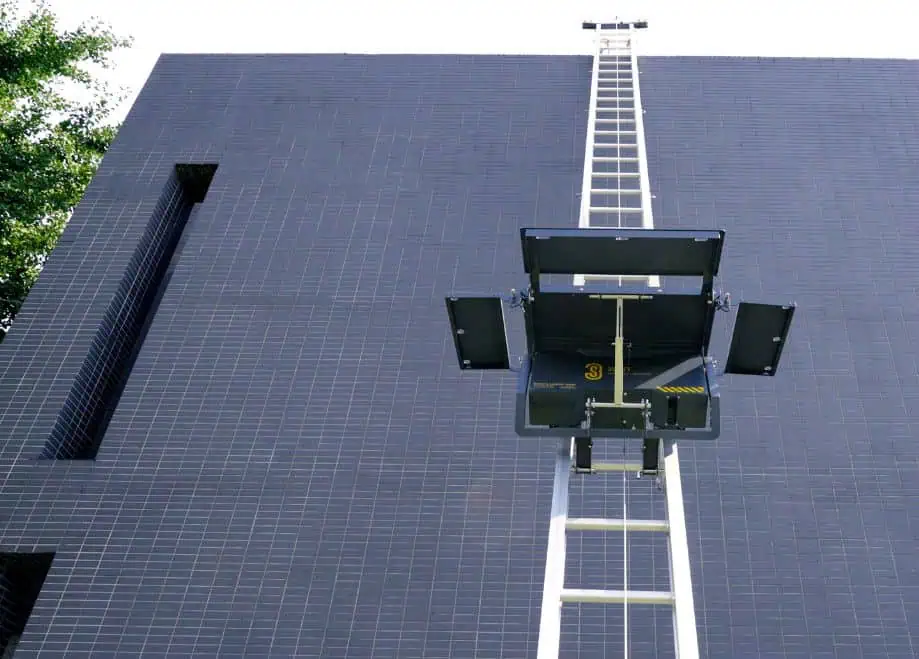
Go Anywhere: Battery Powered Ladder Hoist
***bend section in image not available on battery model
Elevate Your Work with Precision: The Battery Ladder Lift
Innovative Lifting Technology for Efficient and Safe Material Handling

Versatile Applications
The Battery-Powered Ladder Hoist caters to diverse lifting needs with its multi-purpose platforms, making it perfect for construction, maintenance, and installation projects.
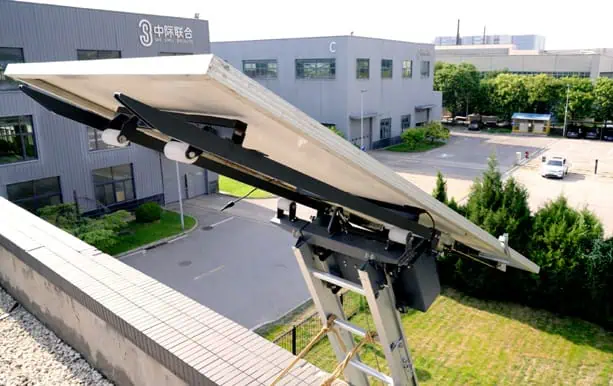
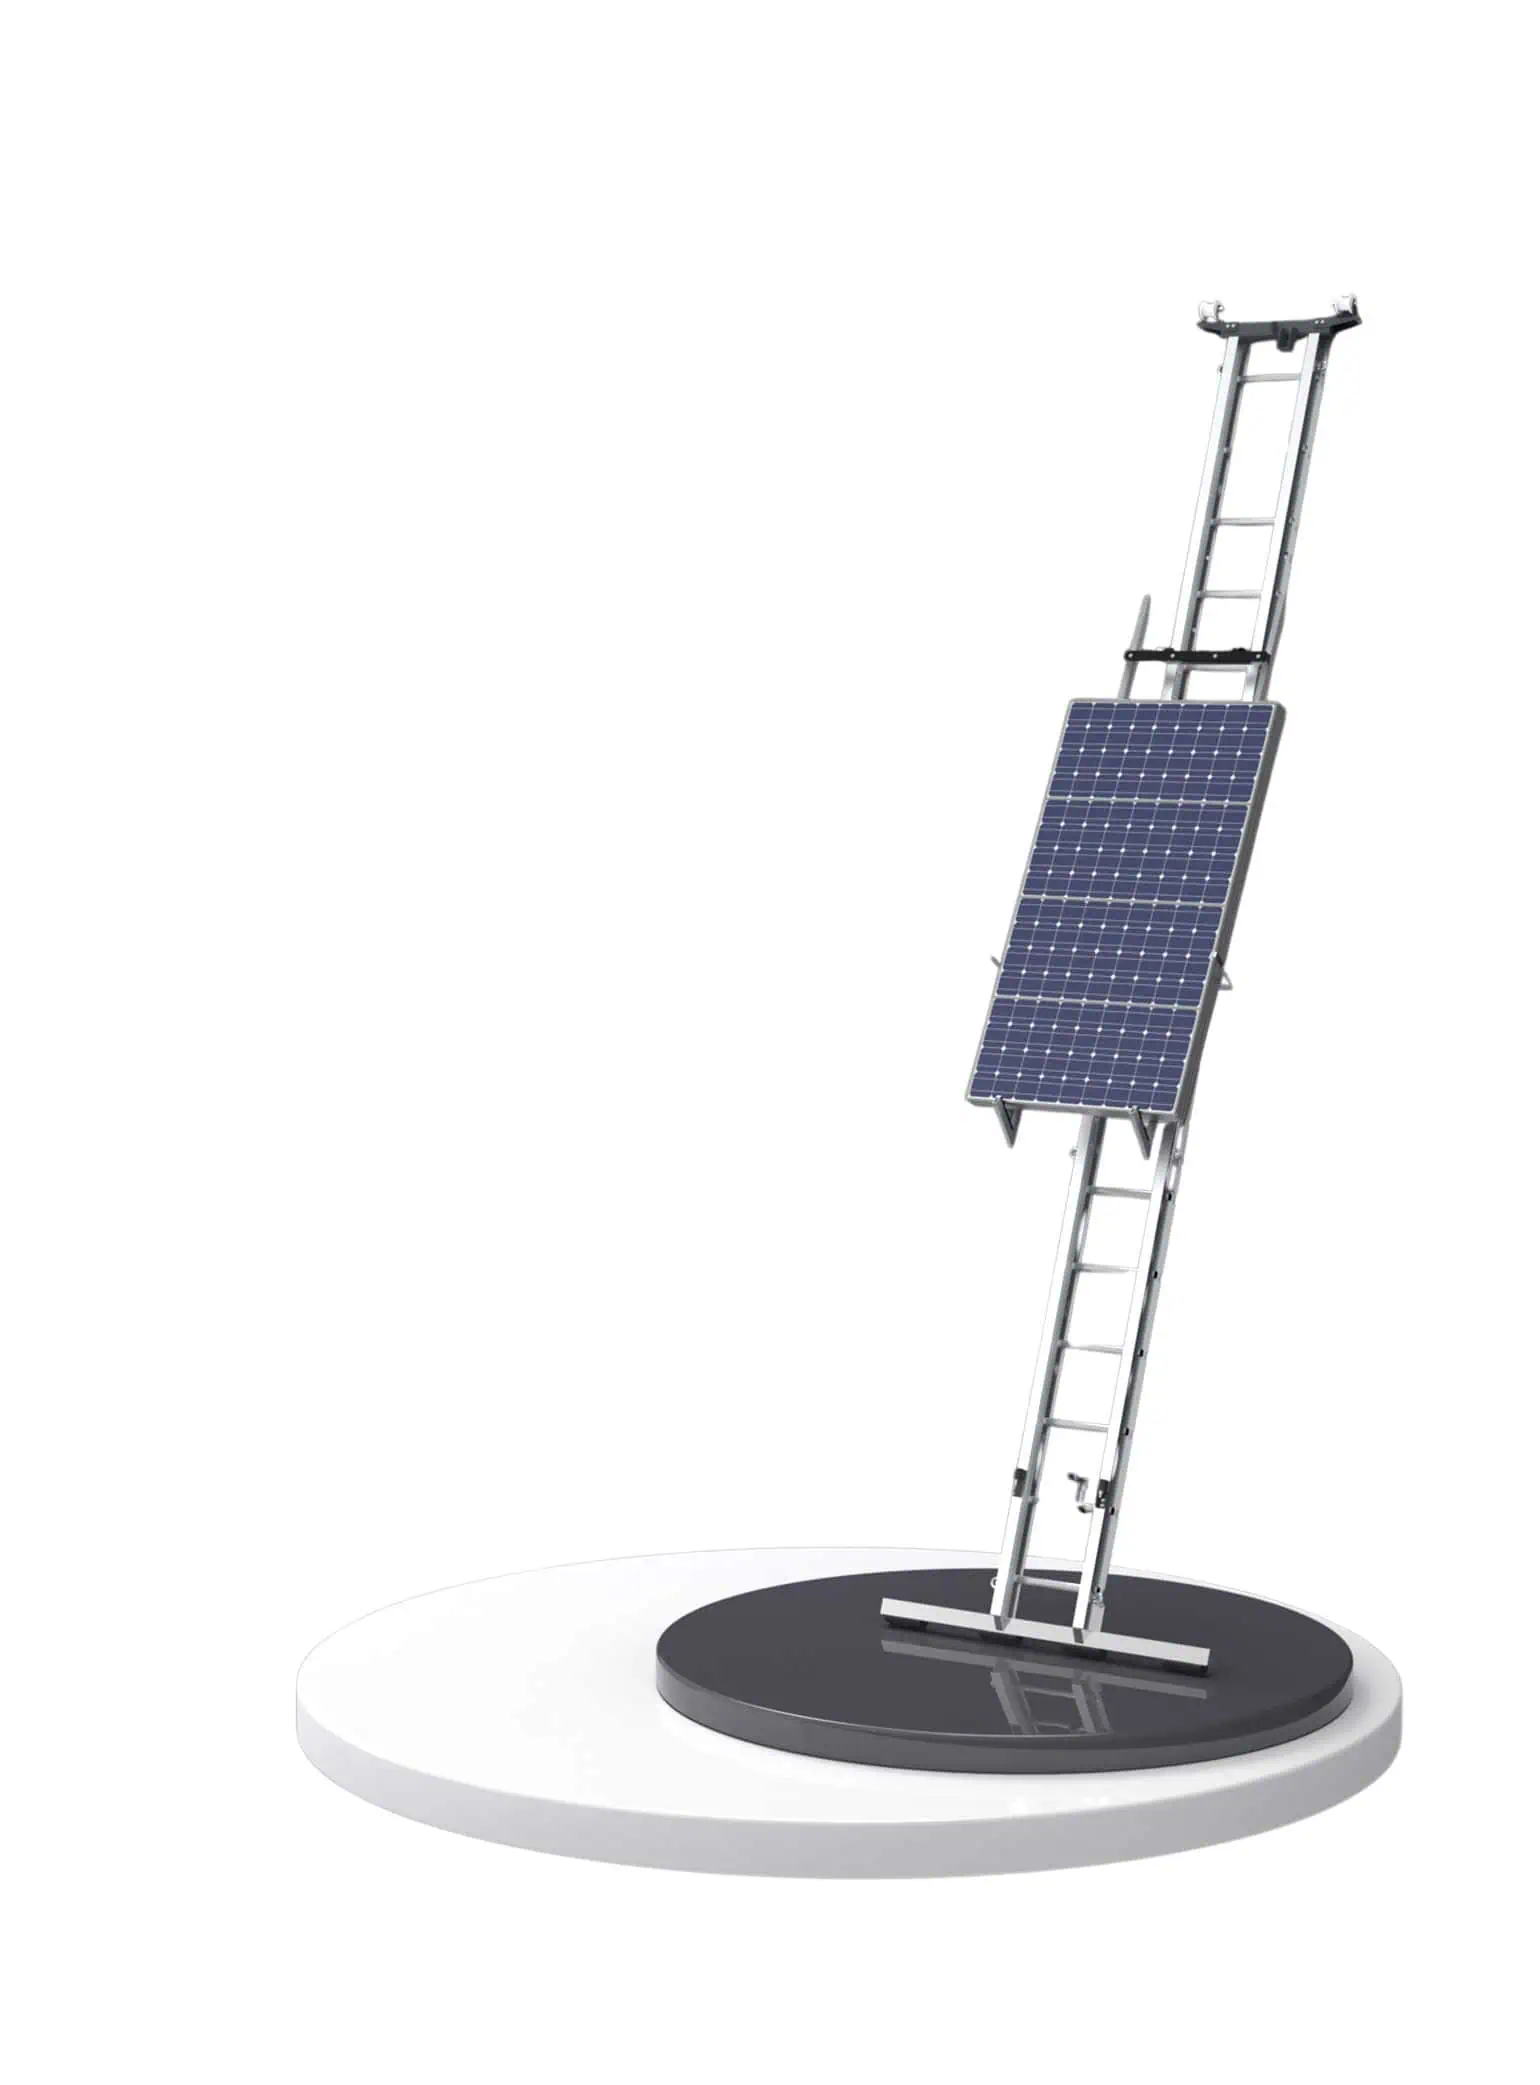
From solar panels to roofing materials, the Battery Ladder Lift handles a variety of items with specialized platforms like the solar panel platform, which automatically tilts for easier handling.
Portability and Ease of Use
Designed for simplicity and convenience, the Battery Ladder Lift can be easily transported and set up in minimal time without professional help.
The entire unit weighs approximately 100 kg for a 10 m setup, with components that are manageable by hand, ensuring you can move and assemble it swiftly onsite.
Maximise Efficiency: Explore Our Range of Battery Ladder Lift Accessories
Customise Your Setup: Essential Accessories for Every Project
Multipurpose Platforms
Comes with various platform types including a solar panel platform, ensuring adaptability to nearly any job requirement.
Easy and Quick Setup
Tool-free assembly means your project starts within minutes! Takes only 20 minutes for complete setup by just two people
High Portability
Compact and lightweight, it fits easily into regular trucks or vans, making it perfect for projects across different locations
Robust and Safe
Enhanced with fall protection, overload detection, and emergency braking to ensure maximum safety on the job.
Economical
Reduces labour costs and increases efficiency on site, ideal for businesses aiming to optimize operational budgets.
Effortless Setup and Operation
User-Friendly Design: Simple operation with a focus on safety and efficiency
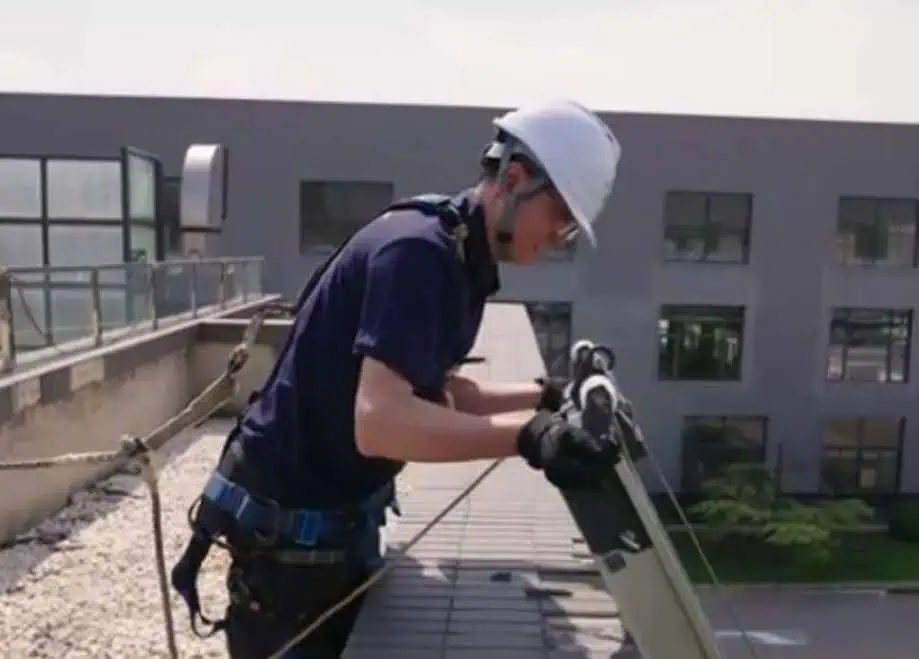
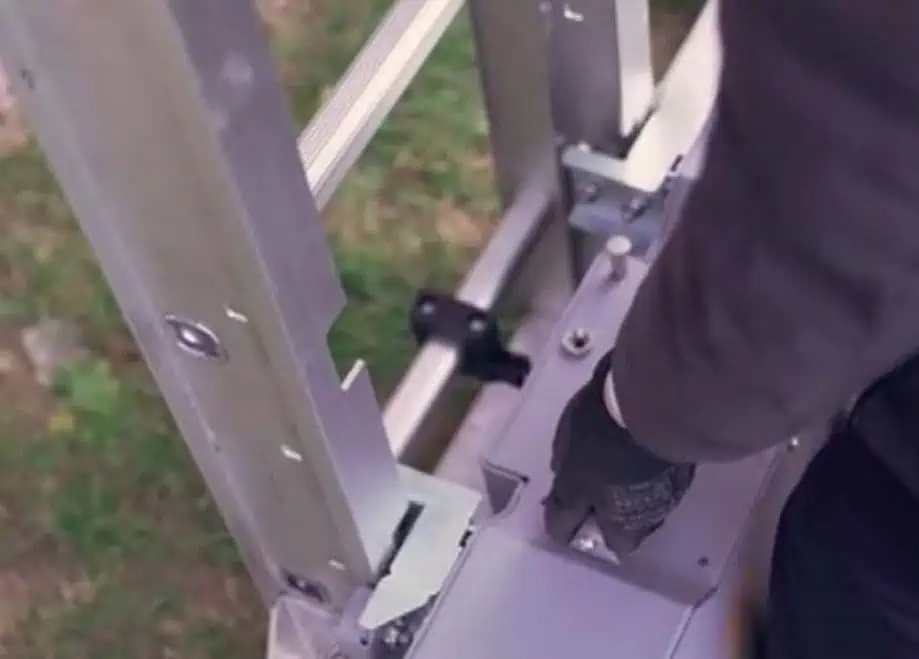
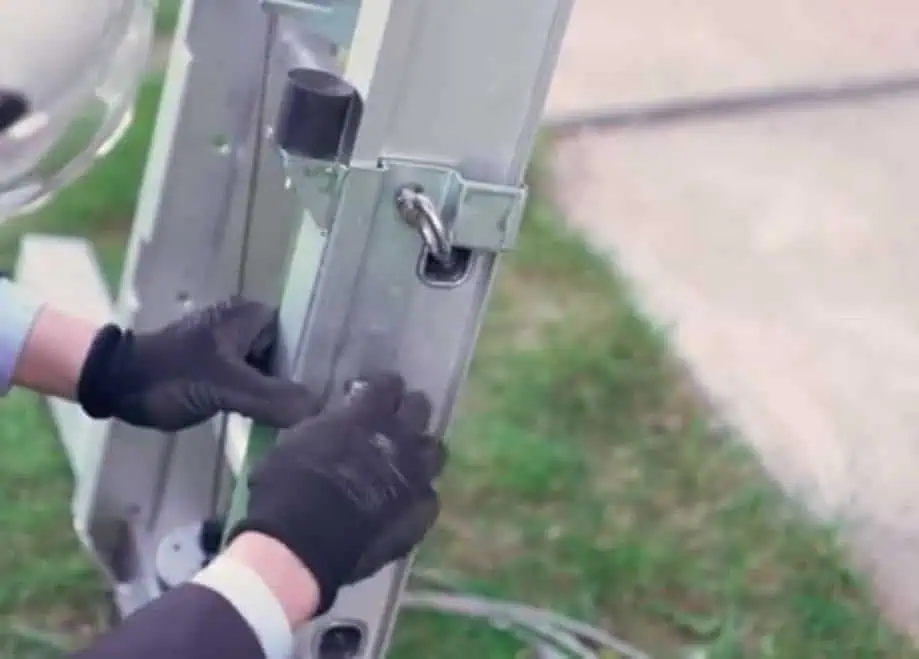
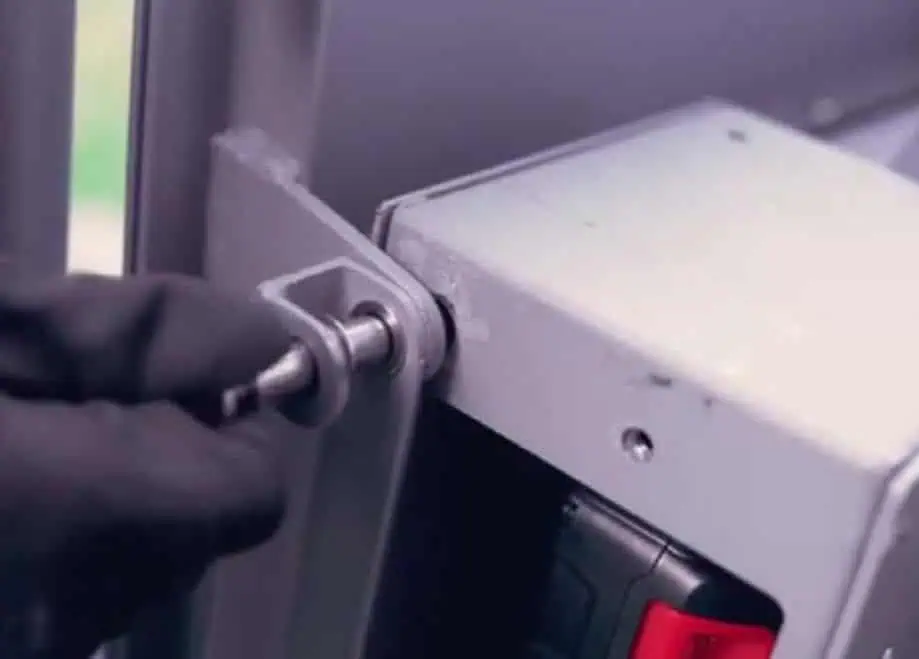
Step 1

Connect the rail sections, the ground foot and head section with eye nuts and bolts
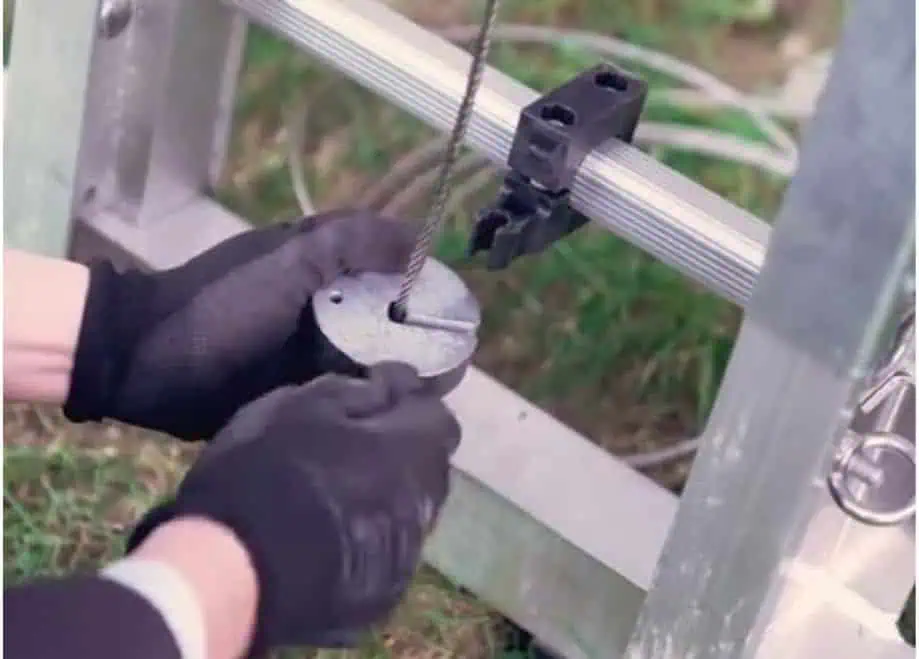
Step 2
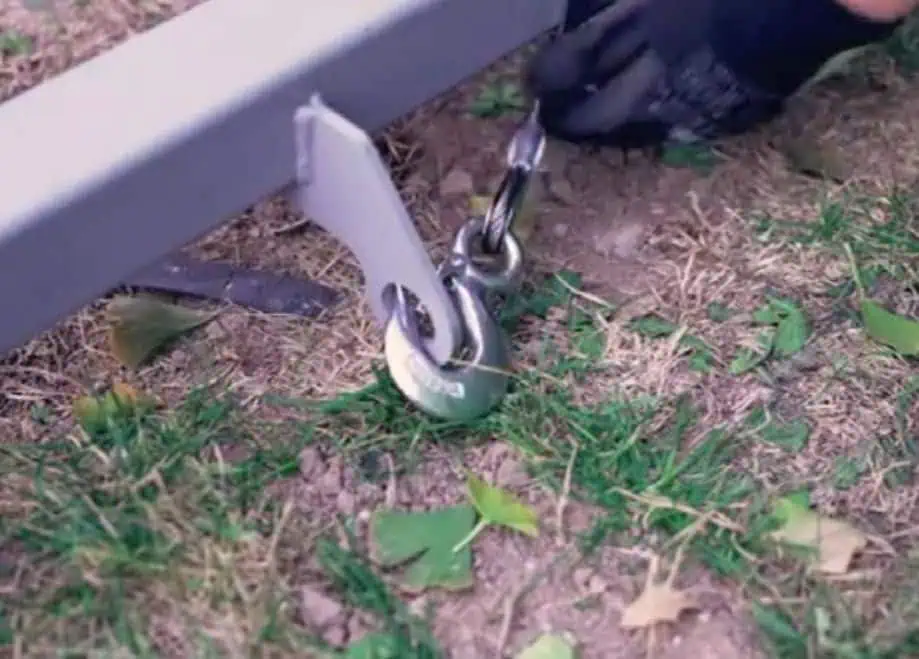
Hook and straighten out the wire rope
Step 3
Lean the rail against the wall and adjust the working angle from 65°-80°
Step 4
Fit the wheels of the drive unit into the notches at the bottom, and make sure they go along the rail smoothly
Step 5
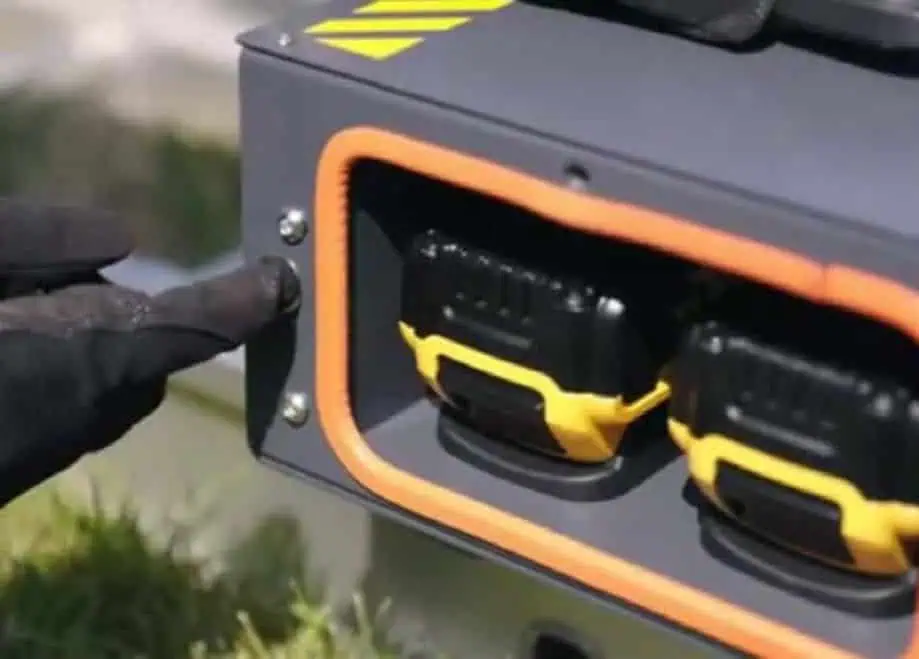
Load the batteries and press the start button
Step 6
Insert the wire rope into the drive unit by pressing the up button until the wire rope is tightened
Step 7
Collect the excess wire rope, put on the weight block to make it stable
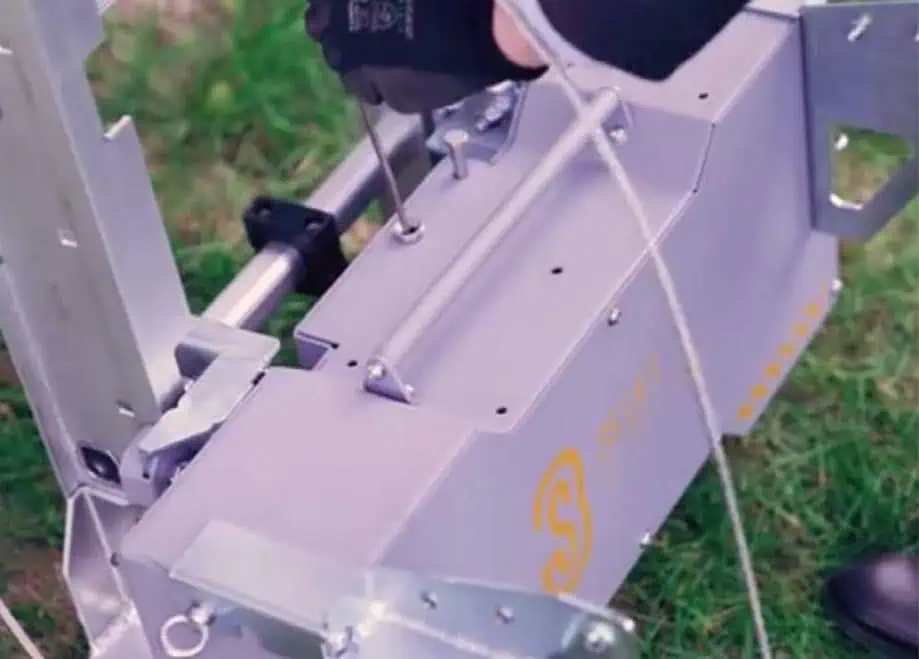
Step 8
Install the bumpers and lower limit
Step 9
Mount the platforms onto the drive unit
Completed
Ready to work